

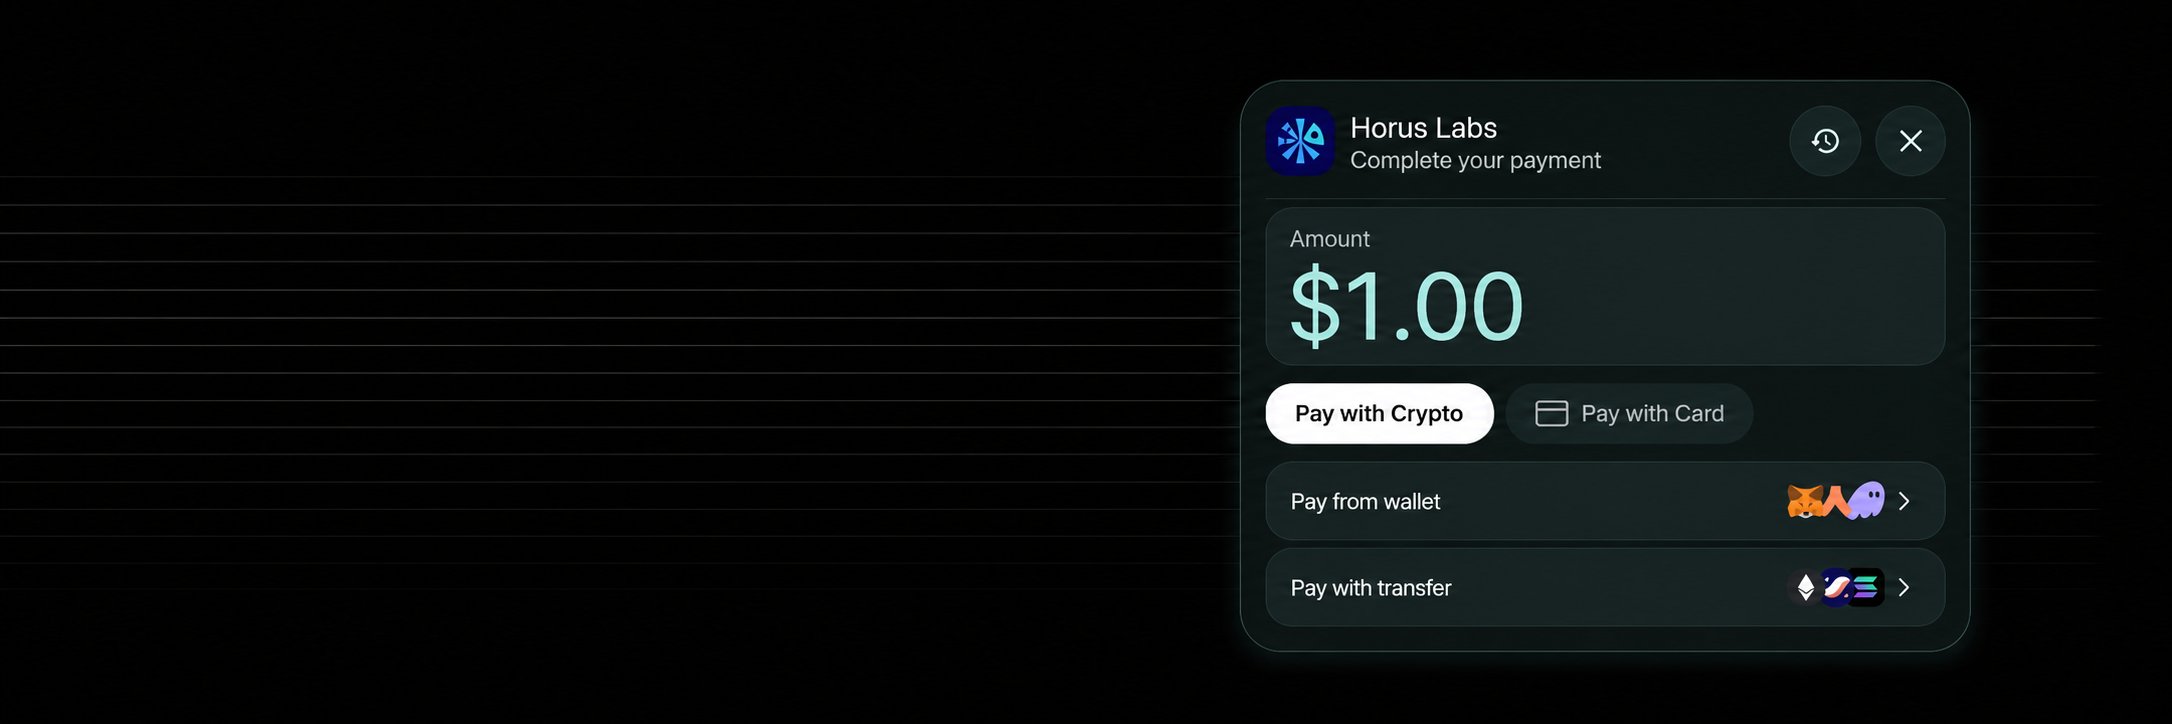
Overview
This guide uses@chainrails/react-native on the app side for the payment modal and hooks, and @chainrails/sdk on your backend to create session tokens. For the broader React Native integration, see Mobile Development.
Prerequisites
Before you begin, make sure you have:- A React Native project
- A Chainrails API key from dashboard.chainrails.io
- A backend service where you can create session tokens securely
Step 1: Install the SDK
Install the React Native UI package in your app and the core SDK on your backend.- App
- Backend
Step 2: Set Up Session Endpoint
Create a backend endpoint that generates secure session tokens. The mobile app calls this endpoint right before opening the payment modal.recipient, destinationChain, token, and amount before creating a session. For a Seeker-targeted flow, the destination chain is typically SOLANA.
Step 3: Open the Payment Modal
In your app, fetch a session from your backend and open the payment modal only after the session is ready.Best Practices
- Never expose API keys client-side: Always use a backend session endpoint
- Validate all inputs: Check recipient addresses, chains, tokens, and amounts
- Use HTTPS: Ensure all communications are encrypted
- Implement rate limiting: Prevent session endpoint abuse
Additional Notes
- Live API keys cannot be used with test networks. In test environments you can use supported mainnets and testnets, but once you switch to a live API key you must use mainnet networks only.
-
Testnets also do not have indexing support. If you are testing the modal on a testnet, users must click I have made payment after funding. If you are using API-driven flows, you must manually call
POST /api/v1/intents/{intent_address}/trigger-processingto process the intent.
Next Steps
- See the Mobile Development guide for the broader React Native integration details
- See the Payment Modal reference for hook behaviour and parameters
Github Example
Check out our Github demo repository for a full React Native example.